Set up your emails on iPhone
Overview
The following shows you how to access your DreamHost email account on your iPhone.
Mail server settings
Incoming
imap.dreamhost.com
or
pop.dreamhost.com
Outgoing
smtp.dreamhost.com
1.Tap the Settings badge on the home screen of your iPhone
The Settings page opens.
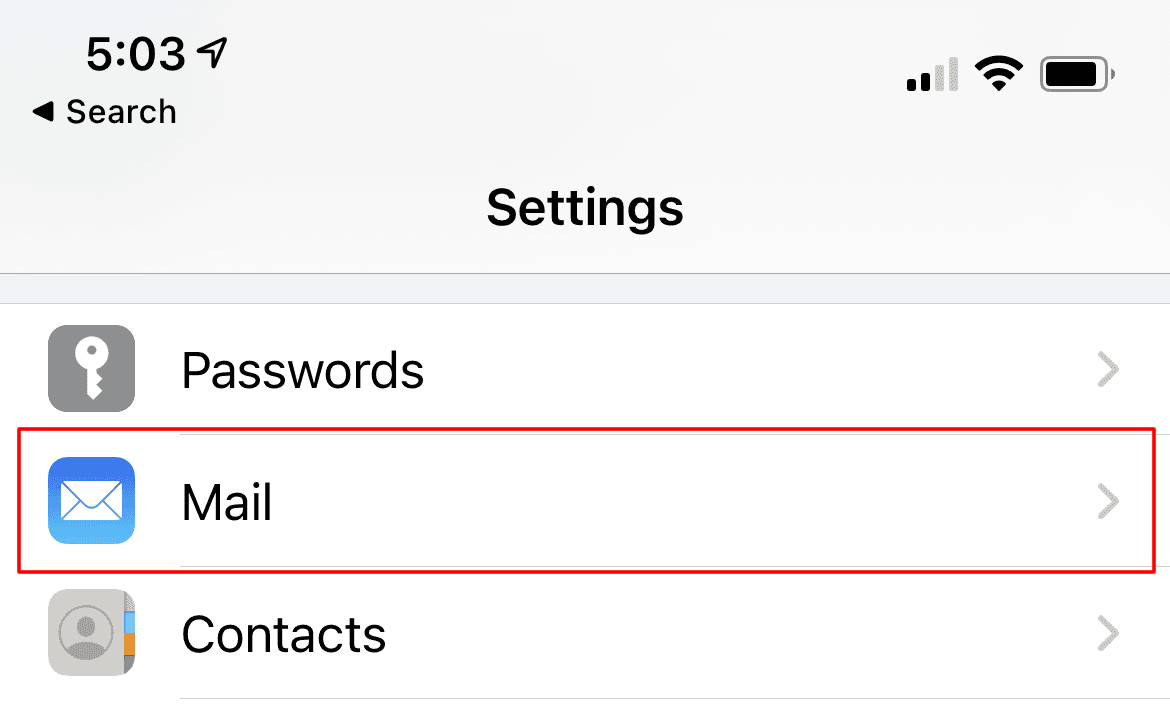
2.Tap Mail
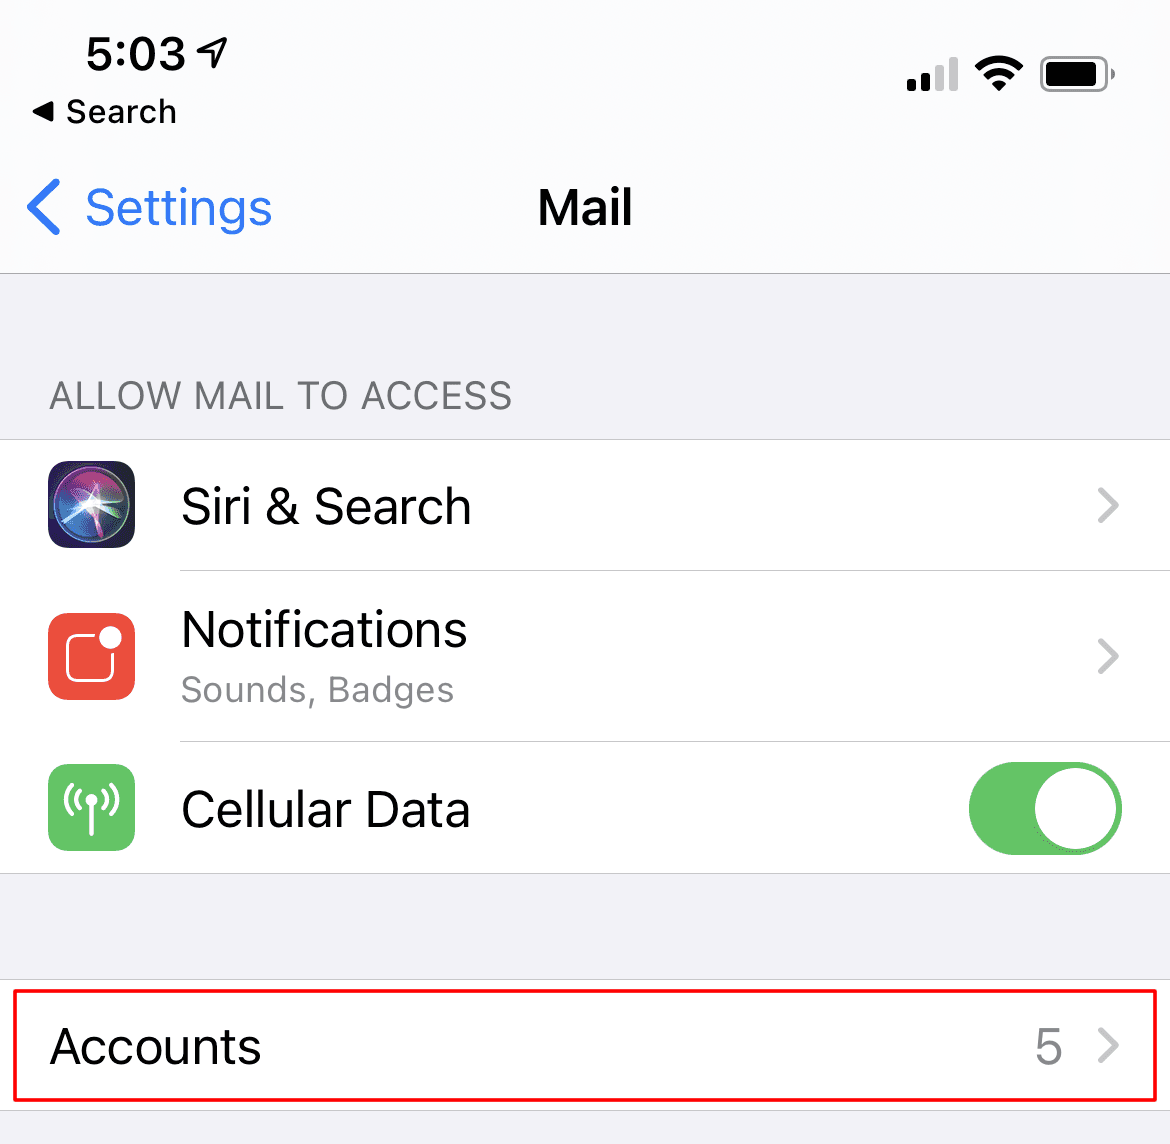
3.Tap Accounts
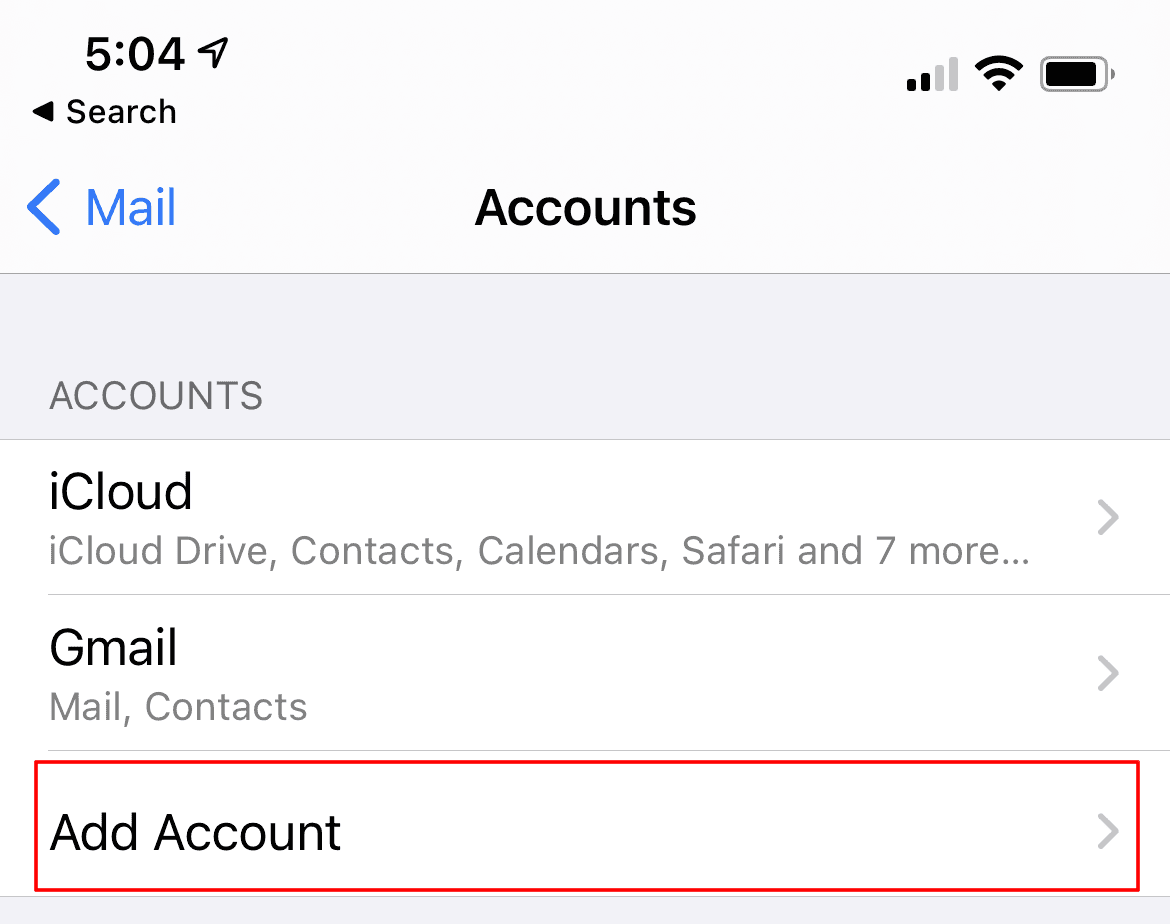
4.Tap Add Account
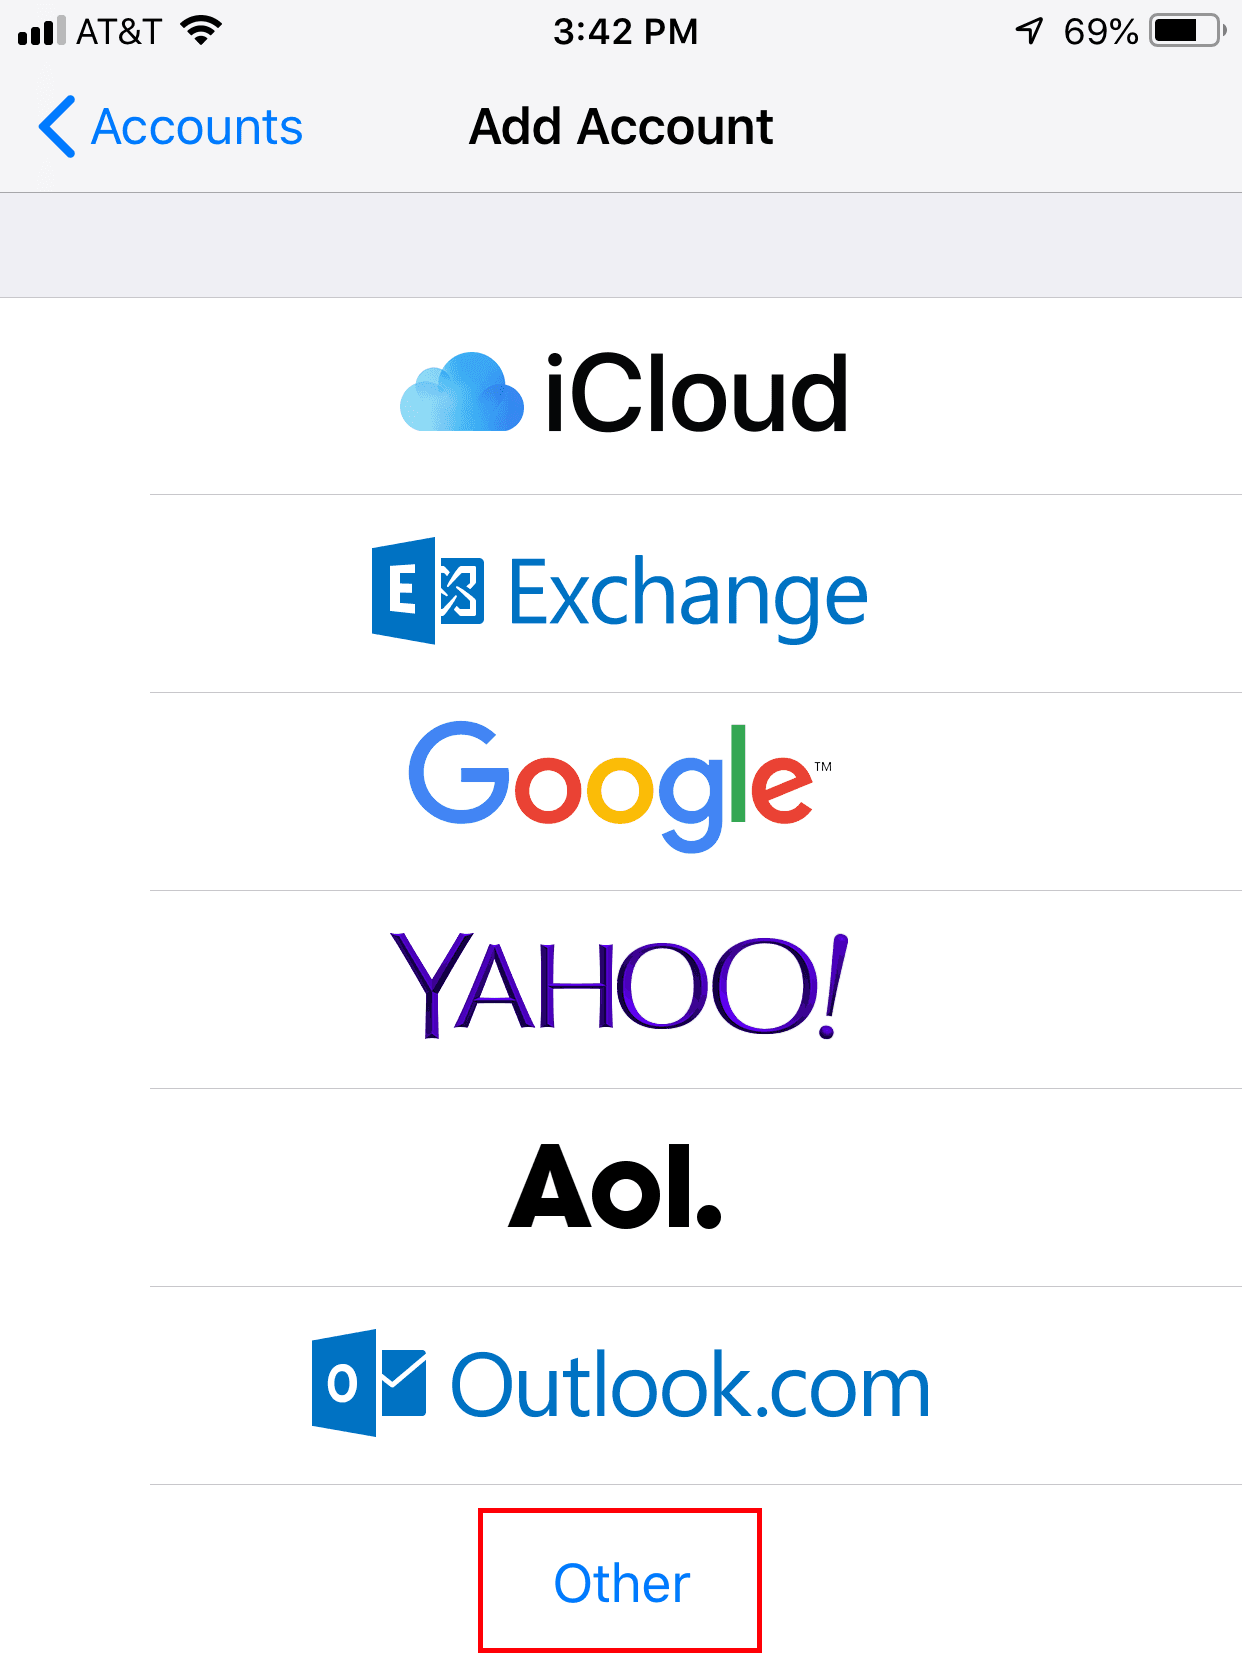
5.Tap Other
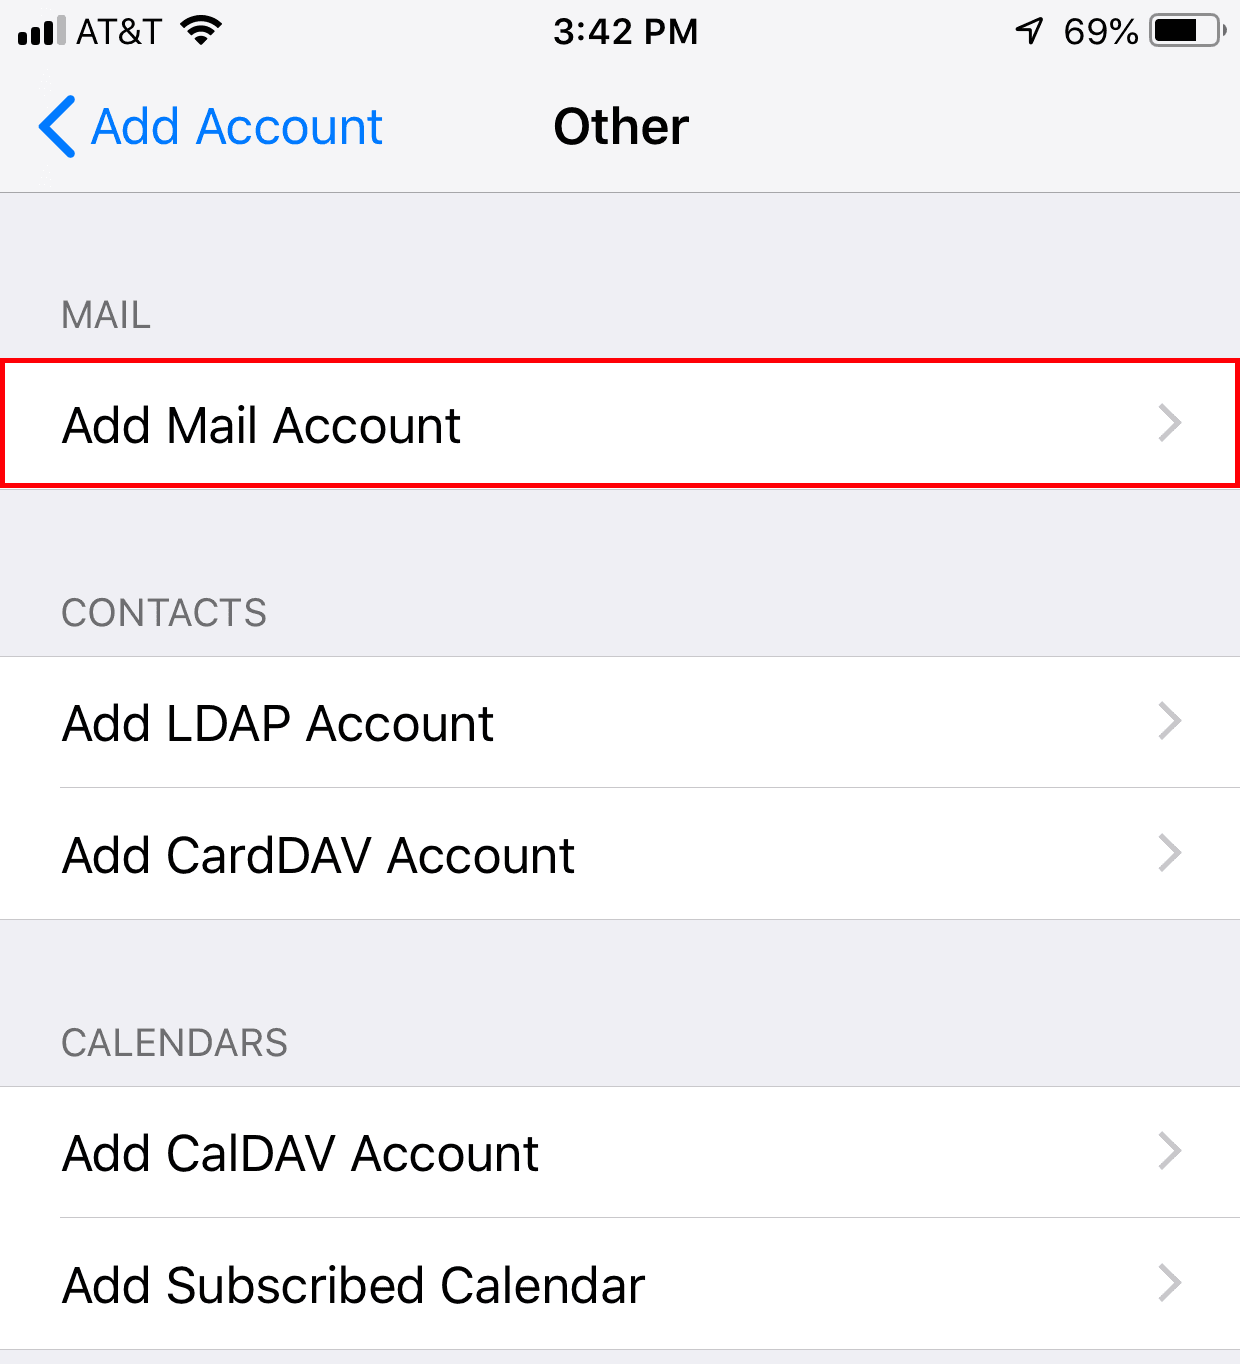
6.Tap Add Mail Account
The New Account page opens.
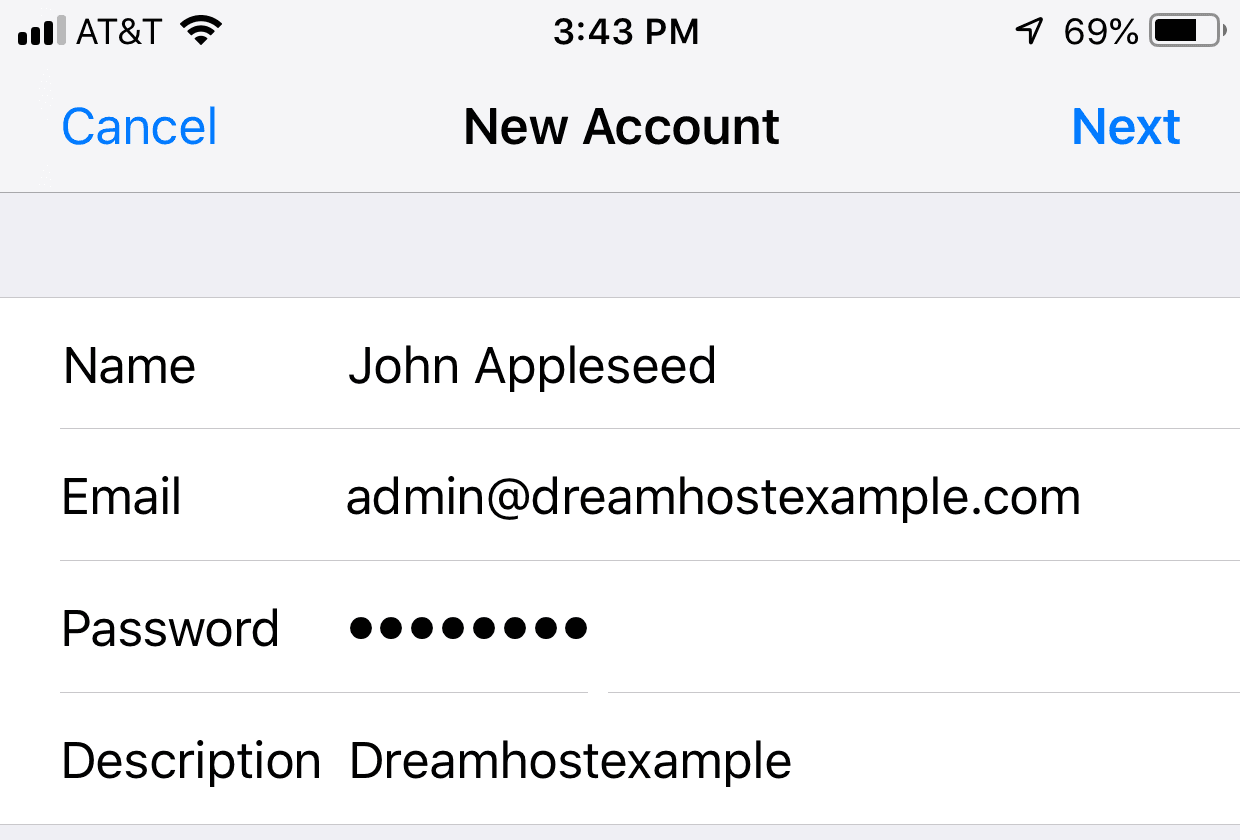
7.Enter your email account details
- Name — Your name, which displays on the receiving end.
- Email — Your email address, which is where replies are sent to and should likely be the same as your username.
- Password — Your password.
- Description — Description of this account. This appears as the name of your address on the Settings page of your phone.
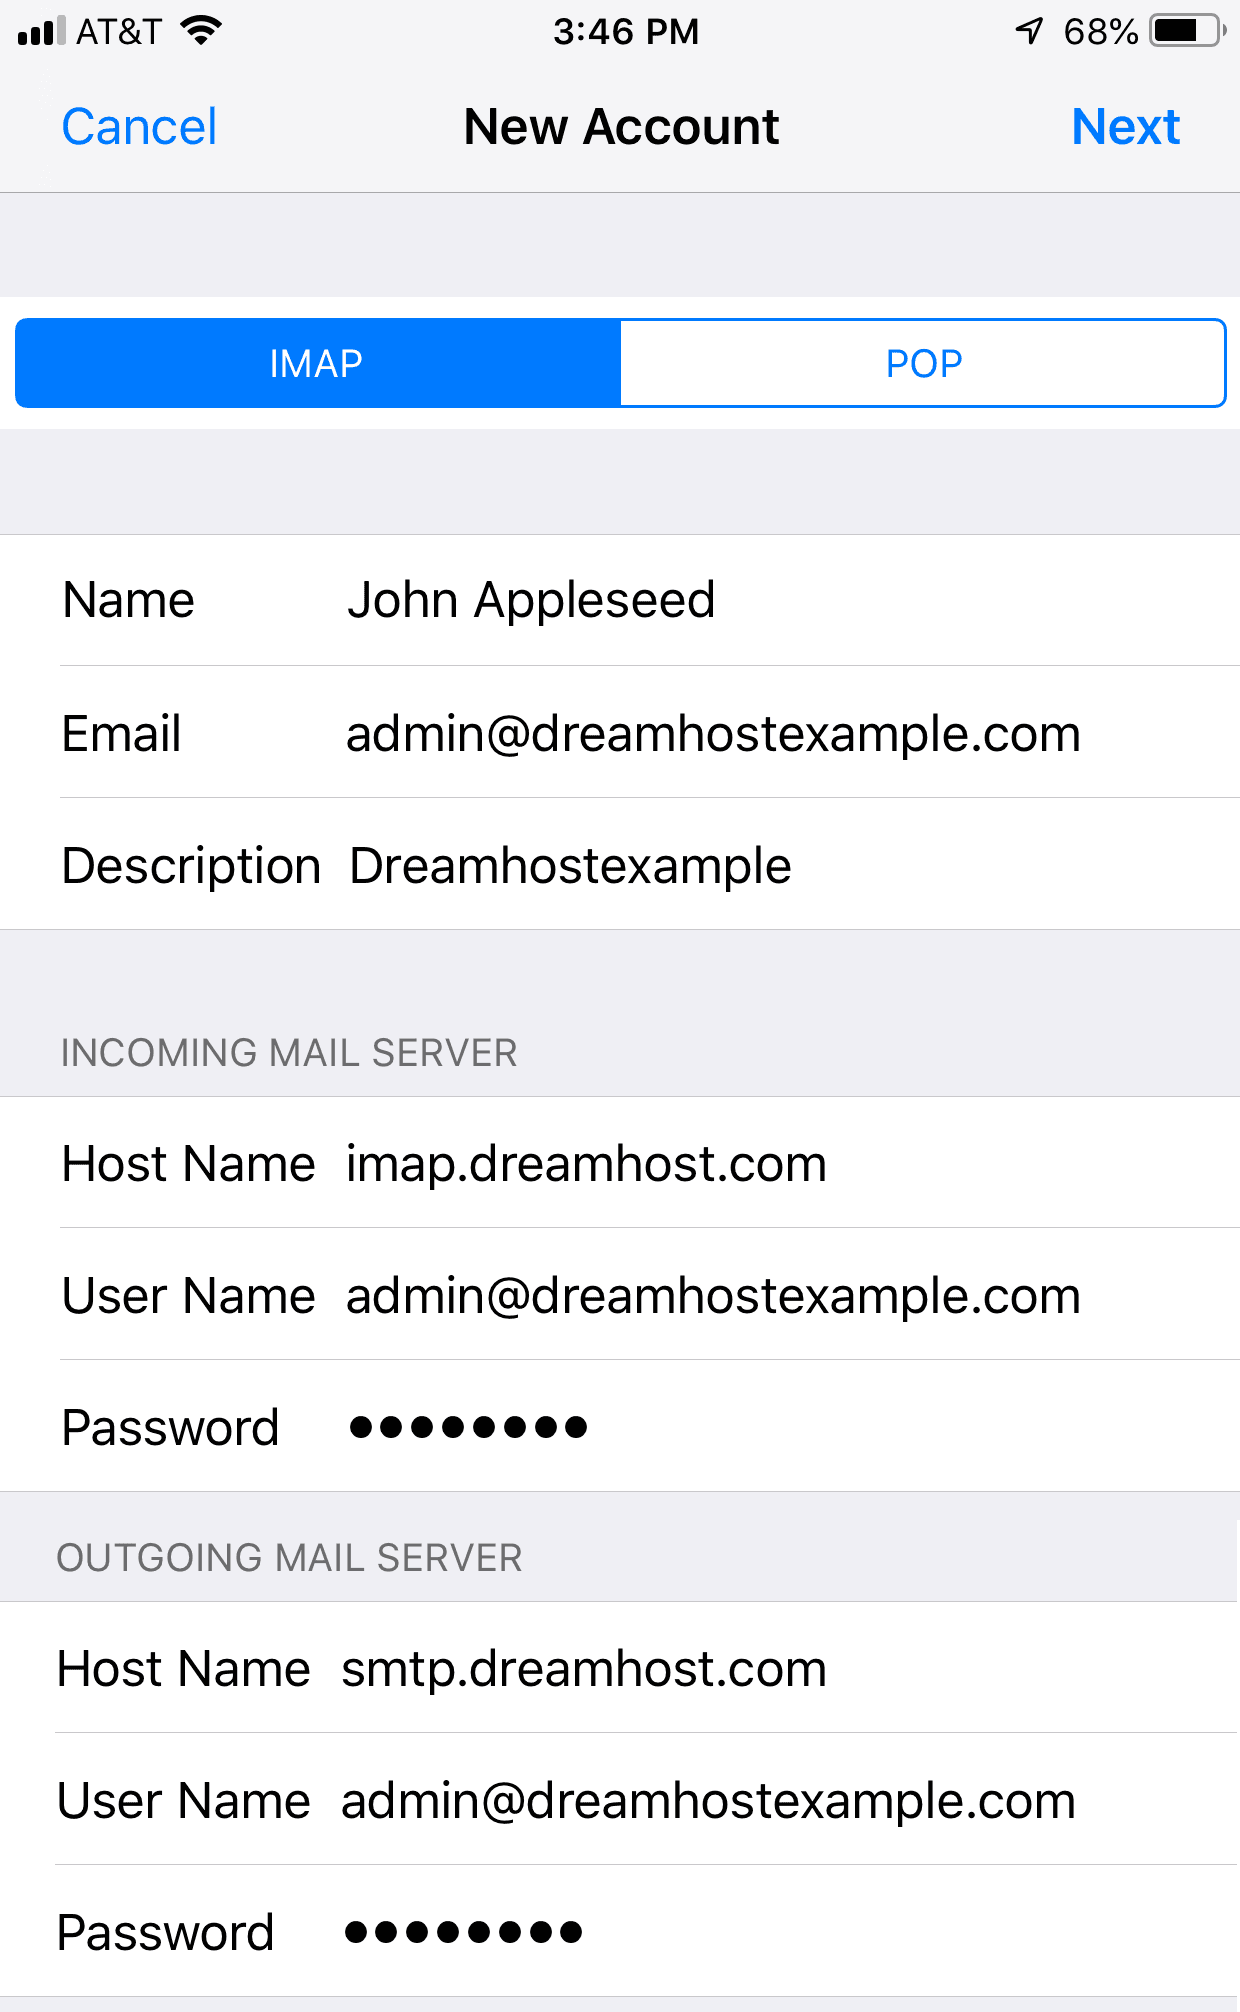
8.Tap Next in the upper right corner
The mail server settings page opens.
9.Enter incoming and outgoing mail server details
Make sure IMAP is selected, then enter the following:
Incoming mail server
- Host name —
imap.dreamhost.comorpop.dreamhost.com - Username — your full email address (e.g. address@example.com)
- Password — password for the email address
Outgoing mail server
- Host name —
smtp.dreamhost.com - Username — your full email address
- Password — password for the email address
- Host name —
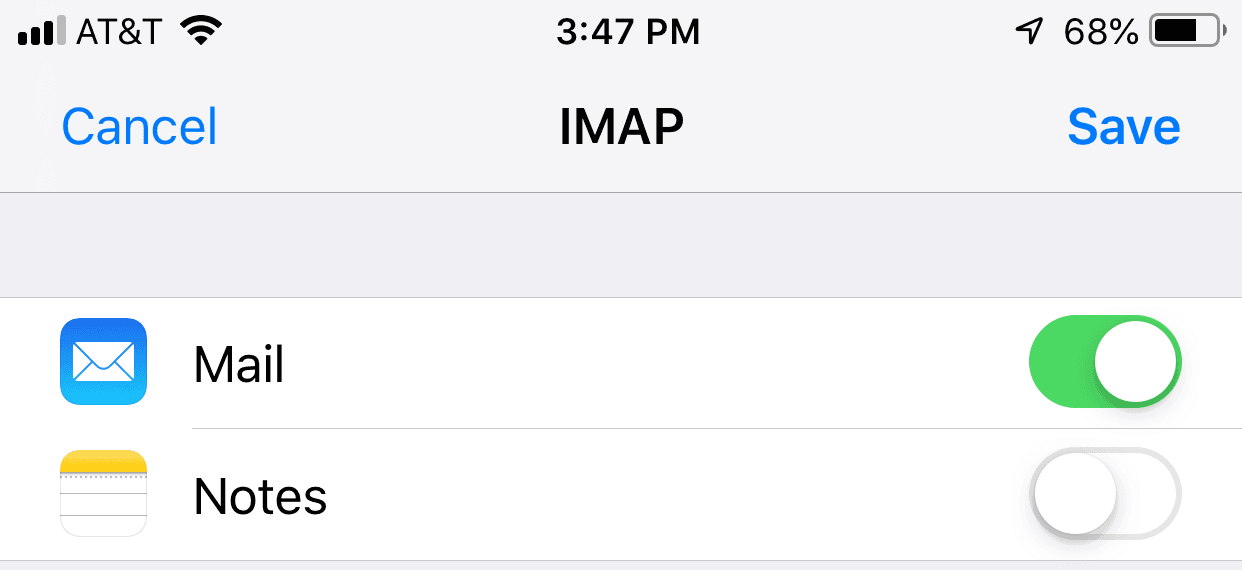
10.Tap Next to verify and save
The DreamHost mail server is contacted and verifies your email account. When verification succeeds, you can save your new mail account and start using it in the Mail app.
Need help? Contact us · Back to home